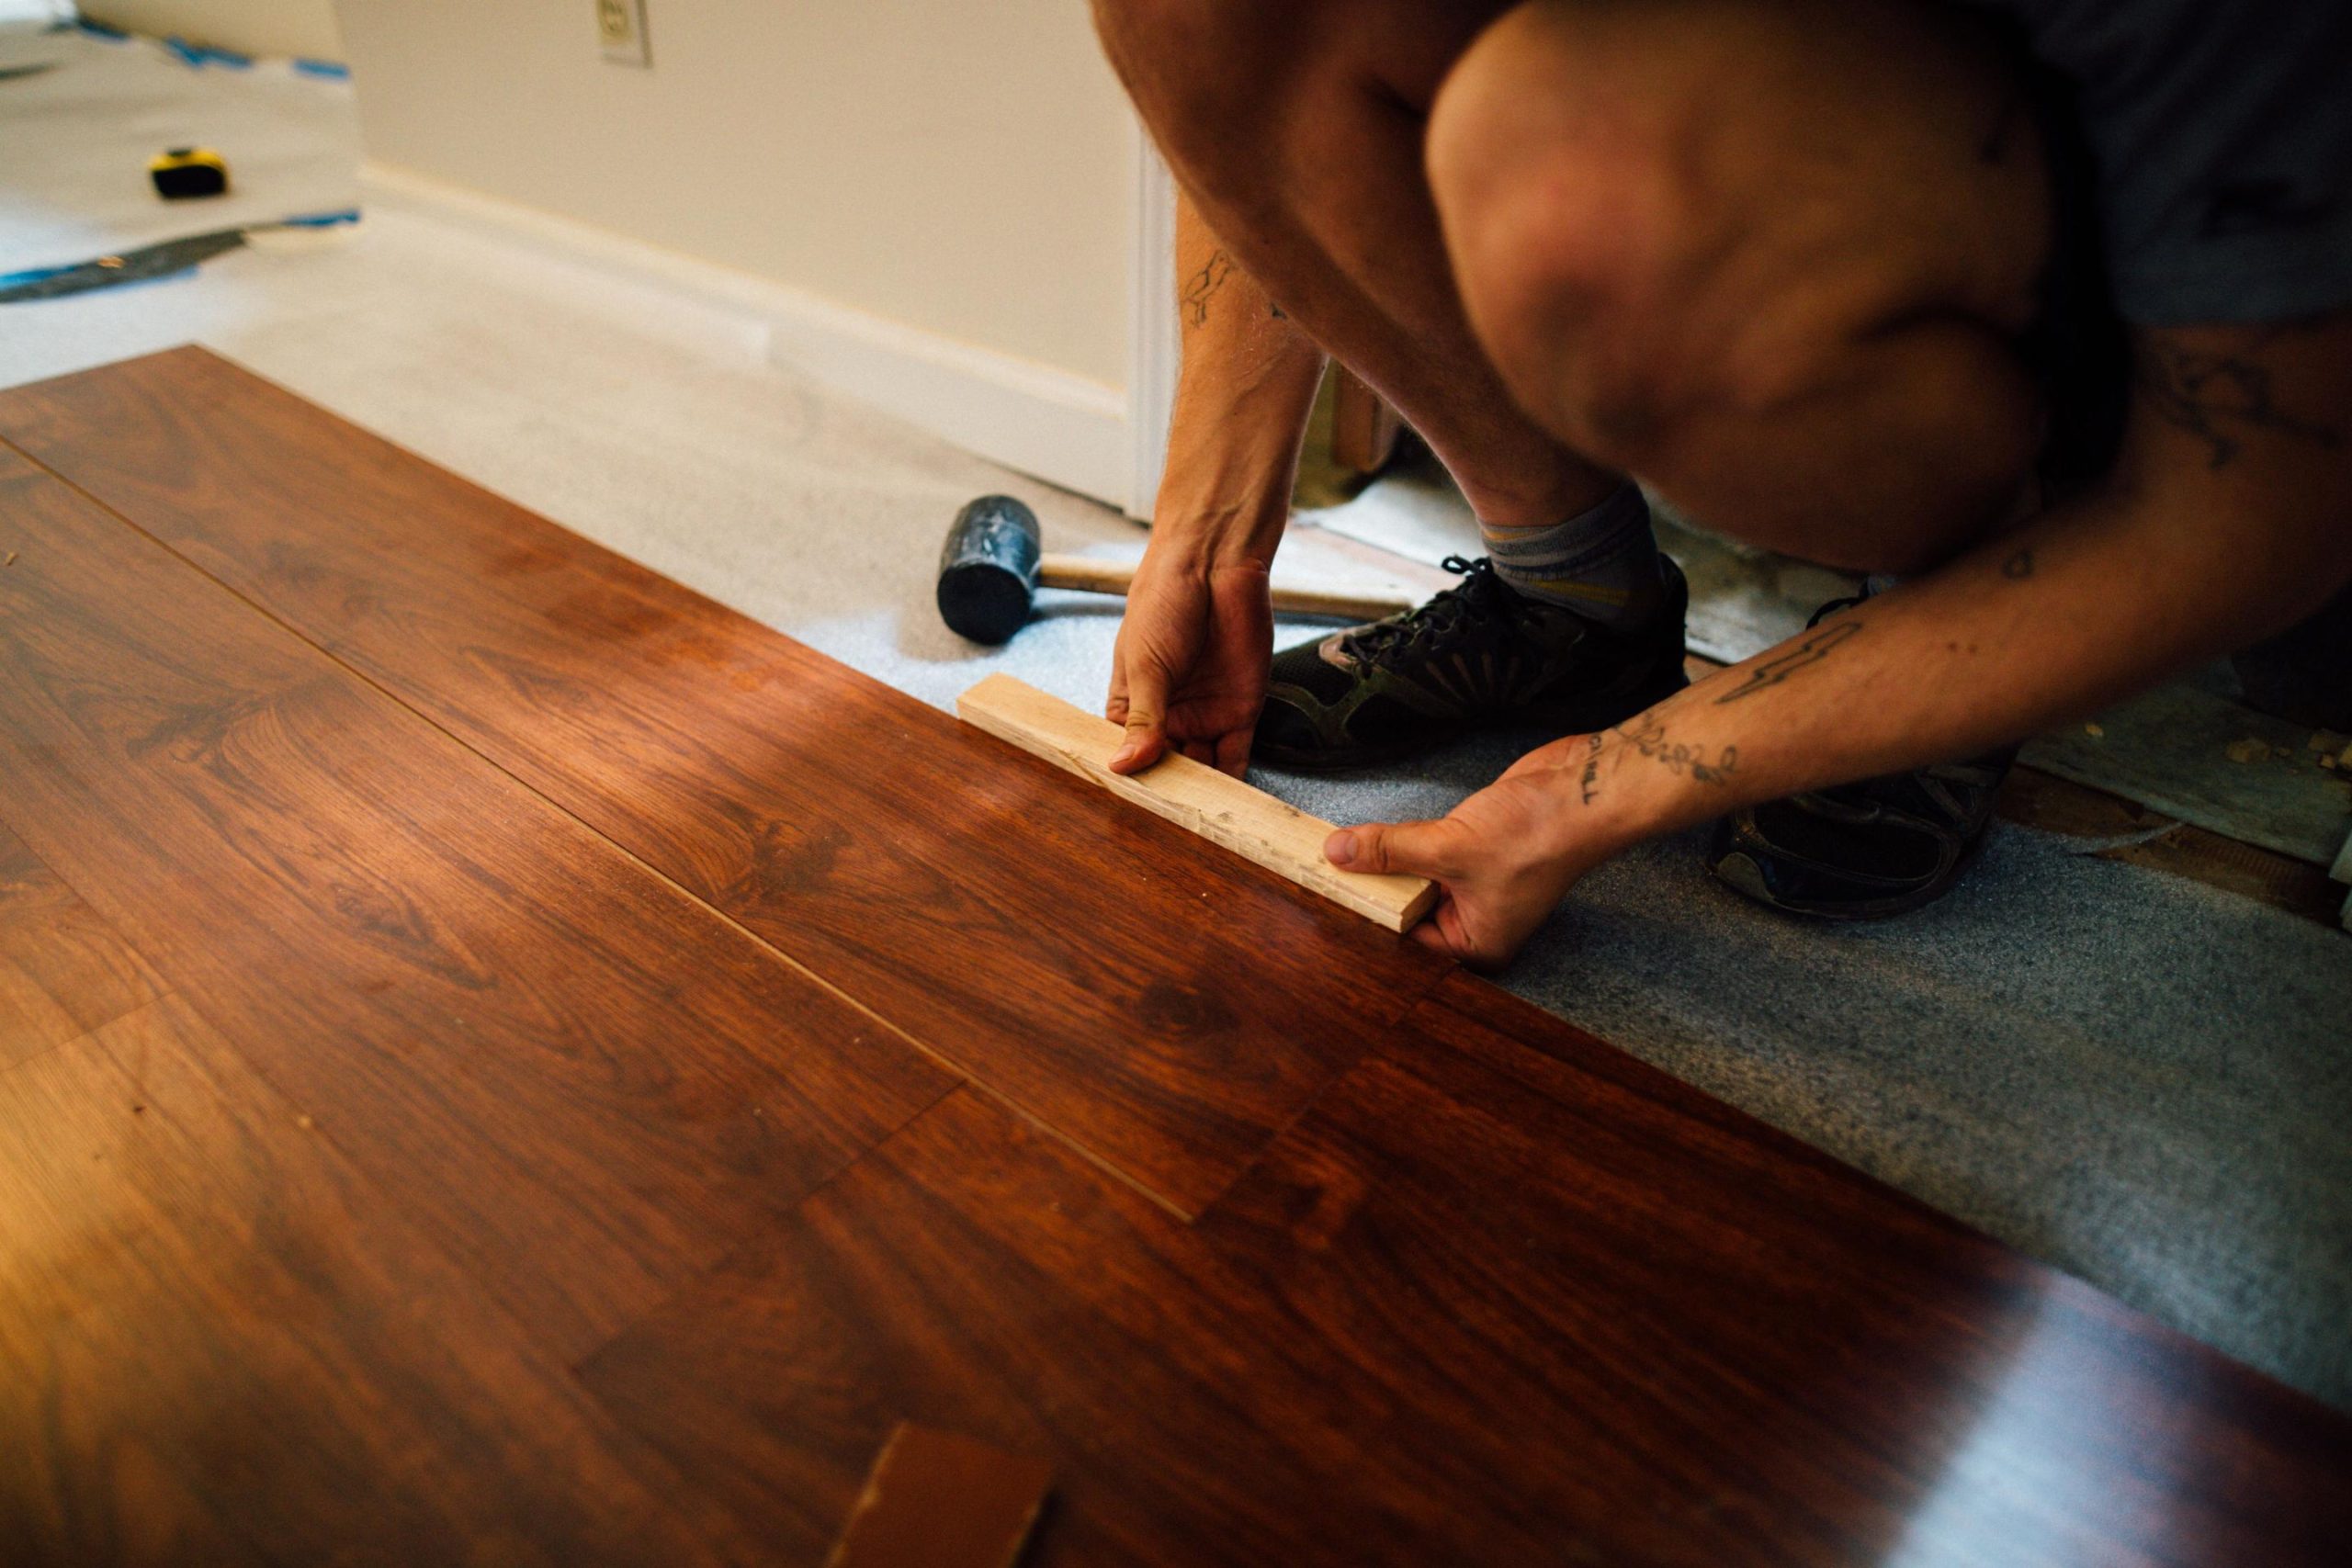
Key Takeaways
- Choose a wood flooring product that suits the room, subfloor, moisture conditions, and approved installation method.
- Measure the room carefully and purchase extra flooring to account for cuts, waste, and future repairs.
- Prepare and inspect the subfloor for moisture, damage, uneven areas, loose sections, and debris before installation.
- Follow manufacturer instructions for acclimation, expansion gaps, fastening methods, and other installation requirements.
- Plan the board layout and stagger joints properly to create a balanced, professional-looking finished floor.
- Check your work regularly during installation so alignment, gaps, or damaged boards can be corrected early.
- Protect the finished floor with proper cleaning, furniture pads, moisture control, and routine maintenance.
Installing wood flooring can completely change the look of a room. Old carpet, worn vinyl, or damaged flooring can be replaced with a surface that feels warmer and more polished. For homeowners who enjoy DIY projects, installing certain types of wood flooring may also reduce labor costs.
However, flooring installation requires careful preparation. Small mistakes with measurements, subfloor conditions, expansion gaps, or board placement can affect the finished floor. The correct installation method also depends on the flooring product you choose.
Before beginning, read the manufacturer’s instructions for your specific flooring. Some products are designed for floating installation, while others must be nailed, stapled, or glued. Local conditions and the type of subfloor can also affect which method is appropriate.
The following steps explain what DIYers should consider before and during a wood flooring installation.
1. Choose the Right Type of Wood Flooring
Not every wood floor is installed the same way. Solid hardwood is made from one piece of wood, while engineered wood contains multiple layers with a real wood surface. These differences can affect where the flooring can be installed and which installation methods are allowed.
Engineered flooring may offer more installation options in some locations, while solid wood commonly requires specific subfloor and fastening conditions. Always check product instructions rather than assuming all wood flooring works the same way.
Before purchasing, compare:
- Solid and engineered wood
- Approved installation methods
- Room conditions
- Subfloor requirements
- Maintenance needs
Also consider the amount of traffic the room receives. Choosing flooring that fits both the location and your household can help you get better long-term results.
2. Measure the Room Carefully
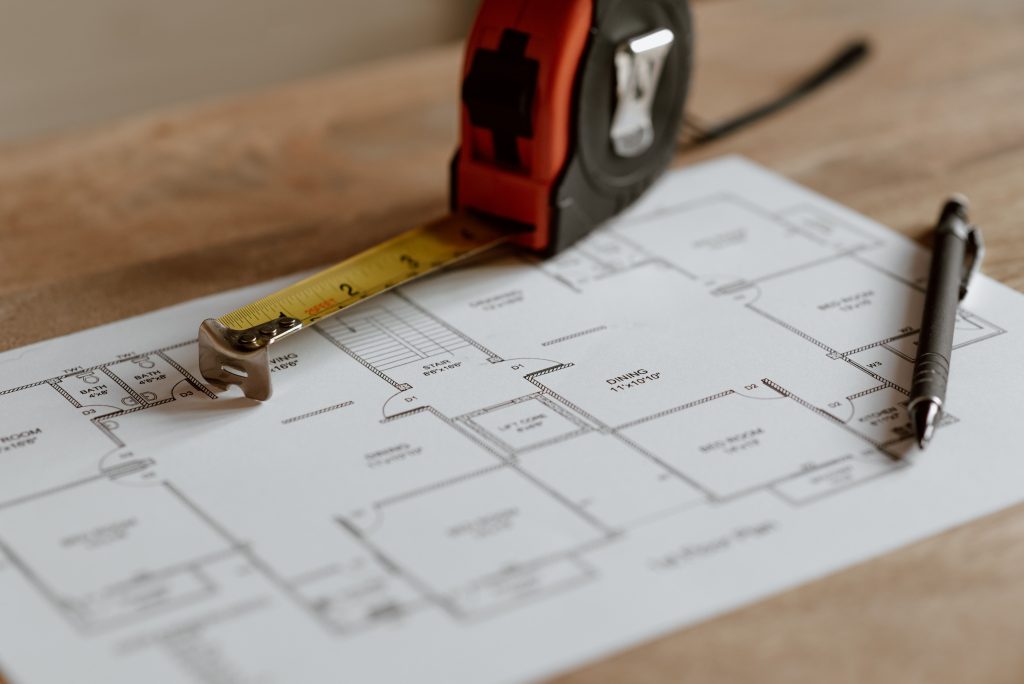
Accurate measurements help you determine how much flooring to purchase. Measure the length and width of the room and calculate the total square footage.
Rooms are not always perfect rectangles, so divide irregular areas into smaller sections when necessary. Calculate each section separately and add the totals together.
When ordering flooring, consider:
- Total room square footage
- Closets and connected areas
- Cutting waste
- Damaged or unusable boards
- Extra material for future repairs
Buying exactly the calculated square footage may leave you short because boards need to be cut. The recommended amount of extra material varies, so follow manufacturer or supplier guidance.
Whenever possible, purchase all flooring for one room or connected area at the same time. Wood color and grain can vary between production batches.
3. Gather the Right Tools Before Starting
Stopping in the middle of installation because you are missing a tool can make the project harder. Gather your equipment before removing the existing floor.
The exact tools depend on the installation method. A floating floor requires different equipment than flooring that must be nailed or stapled.
Common tools may include:
- Tape measure and pencil
- Appropriate saw
- Spacers
- Tapping block
- Pull bar
- Safety equipment
You may also need a flooring nailer, stapler, adhesive, moisture meter, or other specialized equipment.
Use tools designed for your flooring system whenever possible. Improvised tools can damage board edges or locking mechanisms.
4. Prepare the Room Before Installation
Remove furniture and other movable items from the room before starting. Baseboards or shoe molding may also need to be removed depending on the installation plan.
Check doors, transitions, vents, and other areas where the new flooring will meet existing surfaces. A thicker floor may affect door clearance or transitions between rooms.
Room preparation may include:
- Removing old flooring
- Taking off trim carefully
- Removing exposed fasteners
- Cleaning the work area
- Checking door clearance
This preparation is an important part of affordable renovation planning because discovering height, trim, or transition problems early can prevent unnecessary purchases and last-minute changes.
Keep reusable trim pieces labeled if you plan to reinstall them later.
5. Inspect and Prepare the Subfloor
A beautiful floor depends on what is underneath it. Installing new boards over a damaged or uneven subfloor can lead to movement, noise, gaps, or other problems.
Remove debris, old fasteners, adhesive residue, and anything else that could interfere with installation. Check the subfloor for loose sections, damage, or uneven areas.
Look for:
- Loose panels
- High or low areas
- Moisture damage
- Squeaks
- Protruding nails or screws
The subfloor must meet the flooring manufacturer’s requirements for flatness, dryness, cleanliness, and structural condition.
Do not use new flooring to hide an active moisture problem. Find and correct the source before continuing.
6. Check Moisture Conditions
Wood reacts to changes in moisture and humidity. It can expand or contract as environmental conditions change.
Before installation, make sure the room and subfloor meet the flooring manufacturer’s moisture requirements. Some projects may require moisture testing with an appropriate meter.
Pay attention to:
- Subfloor moisture
- Indoor humidity
- Recent leaks
- Damp concrete
- Moisture near exterior walls
If you discover unexpected moisture, stop and determine the cause.
Installing wood over an unsuitable damp surface can lead to swelling, cupping, gaps, or other damage. Depending on the location and flooring system, a manufacturer-approved moisture barrier or underlayment may also be required.
7. Follow Acclimation Instructions
Some wood flooring products need time to adjust to the environment where they will be installed. However, acclimation requirements vary by product.
Do not automatically leave flooring in a room for a certain number of days based on general advice. Follow the manufacturer’s specific instructions for storage and acclimation.
During this stage:
- Keep flooring protected
- Maintain recommended room conditions
- Follow stacking instructions
- Avoid damp storage areas
The heating or cooling system may need to be operating normally before installation, depending on the product requirements.
Proper acclimation can help reduce unwanted movement after the flooring is installed.
8. Plan the Board Layout
Do not begin fastening or locking boards together without thinking about the final layout.
Measure across the room to estimate how wide the final row will be. If the last row would be extremely narrow, you may need to adjust the width of the first row.
Planning also helps with practical home transformations because small details such as balanced board widths and clean transitions can make a DIY floor look more professionally finished.
Before installing, consider:
- Direction of the boards
- Width of the first row
- Width of the final row
- Doorways and transitions
- Visible focal areas
Open several flooring packages and mix boards during installation when recommended. Natural wood can vary in color and grain, and mixing pieces can create a more balanced appearance.
9. Understand the Installation Method
Wood flooring may be installed as a floating, nail-down, staple-down, or glue-down floor. The correct method depends on the product and subfloor.
Floating floors connect to each other without being permanently fastened to the subfloor. Nail-down and staple-down systems require appropriate tools and compatible subfloors. Glue-down installations require the correct adhesive and careful application.
Possible methods include:
- Floating installation
- Nail-down installation
- Staple-down installation
- Glue-down installation
Never choose a method simply because it seems easier.
Follow the flooring manufacturer’s instructions exactly. Using an unapproved method could damage the flooring and may affect warranty coverage.
10. Maintain the Required Expansion Gap
Wood flooring needs room to move as indoor conditions change. For this reason, many installations require an expansion gap around walls and fixed objects.
The required gap varies by flooring product and room conditions. Use the manufacturer’s measurement instead of guessing.
Expansion space may be needed around:
- Walls
- Door frames
- Columns
- Pipes
- Fixed cabinets or structures
Spacers can help maintain a consistent gap during installation.
Baseboards or shoe molding usually cover the gap after installation. Do not eliminate required expansion space simply because the unfinished edge looks unattractive during the project.
11. Stagger Board Joints Properly
Wood floors generally look better when end joints do not line up from one row to the next. Proper staggering can also be required for the flooring system.
Start rows with different board lengths while following the manufacturer’s minimum joint-spacing requirements.
As you work:
- Avoid repeating obvious patterns
- Check joint spacing
- Mix board lengths
- Step back occasionally
- Inspect the overall appearance
Do not rely on a single repeating sequence because it can make the floor look unnatural.
Planning a few rows ahead can help you use cut pieces efficiently while maintaining a balanced pattern.
12. Make Cuts Carefully
Flooring often needs to be cut around walls, doorways, vents, and other obstacles. Measure carefully before cutting because mistakes can waste material.
Mark each board clearly and confirm which side should be removed. When possible, test complicated cuts before permanently installing the board.
When cutting flooring:
- Wear eye protection
- Use the correct saw
- Support boards securely
- Keep hands away from blades
- Follow tool safety instructions
Door jambs may require special attention so the flooring fits neatly around or beneath them.
Never rush cuts just to finish the project faster. Clean, accurate cuts can make a noticeable difference in the final appearance.
13. Check Your Work as You Go
Do not wait until the entire floor is installed to look for problems.
After every few rows, inspect board alignment, joints, gaps, and overall appearance. Make sure boards are fully connected according to the flooring system.
Watch for:
- Open seams
- Damaged edges
- Uneven rows
- Repeating patterns
- Boards that do not sit correctly
Correcting a mistake early is usually much easier than removing several completed rows later.
Also clean up sawdust and debris as you work. Small particles can interfere with connections or scratch finished flooring.
14. Finish Edges and Transitions
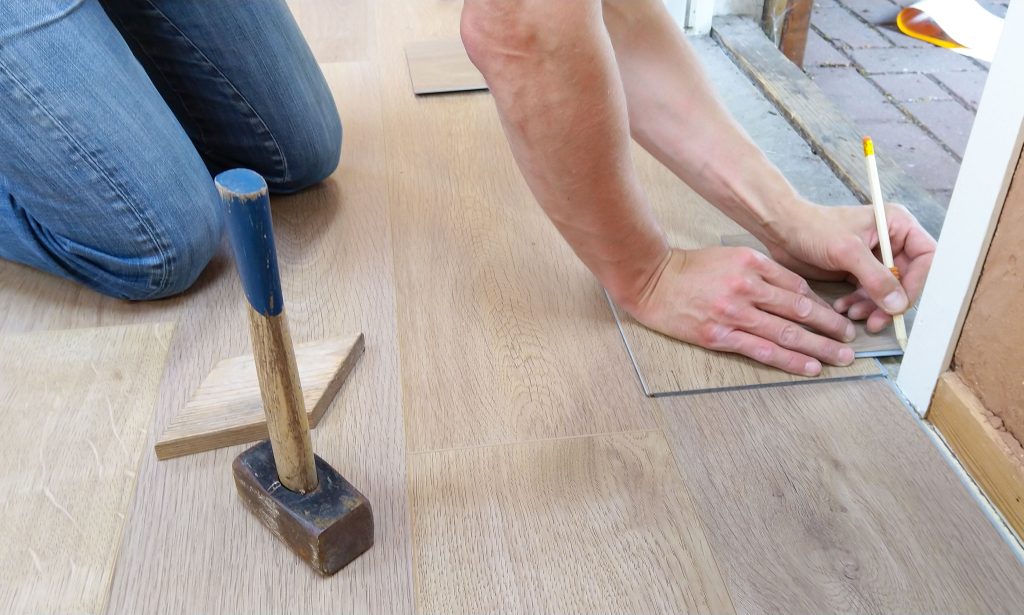
After the main floor is installed, the edges need to be finished properly.
Reinstall or replace baseboards and shoe molding as appropriate. These pieces can cover expansion gaps while creating a clean transition between the floor and wall.
You may also need:
- Transition strips
- Reducers
- Thresholds
- Vent covers
- Matching trim
Do not fasten trim in a way that prevents a floating floor from moving as designed.
Check manufacturer instructions for transition requirements, especially across large rooms or between different flooring materials.
15. Protect the New Floor After Installation
Proper care begins as soon as installation is complete. Follow manufacturer guidance about when furniture can be returned, especially when adhesive has been used.
Lift furniture instead of dragging it across the new surface. Felt pads or other approved protectors can help reduce scratches beneath furniture legs.
For everyday protection:
- Wipe spills promptly
- Use suitable floor cleaners
- Avoid excessive water
- Place mats at entrances
- Trim pet nails when needed
Wood flooring should not normally be cleaned with large amounts of water unless the manufacturer specifically allows that method.
Maintaining stable indoor conditions can also help reduce excessive expansion and contraction.
Know When a Flooring Project Needs Professional Help
DIY installation can be practical for homeowners with the right flooring product, tools, and experience. However, some projects are more complicated than they first appear.
Large uneven areas, serious moisture problems, damaged subfloors, complicated room layouts, or unfamiliar installation systems may require professional help.
Consider calling a professional when you encounter:
- Structural subfloor damage
- Persistent moisture
- Major leveling problems
- Complicated stair installations
- Uncertainty about installation requirements
Professional assistance can be especially valuable when correcting a mistake would require removing expensive flooring.
There is nothing wrong with completing simpler preparation tasks yourself and hiring a professional for more difficult portions of the project.
Create a Wood Floor That Lasts
Installing wood flooring involves much more than placing boards across a room. Successful results begin with choosing the right product, measuring carefully, and preparing the subfloor correctly.
Take time to check moisture conditions, follow acclimation requirements, plan the board layout, and maintain required expansion gaps. During installation, stagger joints, make careful cuts, and inspect your work frequently.
Keep these priorities in mind:
- Follow manufacturer instructions
- Prepare the subfloor thoroughly
- Check moisture before installation
- Plan the layout before fastening boards
- Protect the finished surface
DIYers should also recognize when a project exceeds their skills. Serious moisture, structural damage, or complicated installation conditions may be better handled by a flooring professional.
With careful preparation and patience, installing wood flooring can become a manageable home improvement project. Paying attention to the details from the beginning can help you create a floor that looks attractive, performs properly, and remains easier to maintain for years.